Recording a motor’s starting current
Associated issues

- After a motor was replaced, the new motor trips a circuit breaker when it starts.
- You want to replace the circuit breaker with a higher-capacity part but are having difficulty explaining why to the customer.
Solved by GENNECT Cross!
- Record the motor’s starting current before and after the replacement work.
- Summarize your findings in a report to avoid problems when dealing with the customer.


Motors designed to yield energy savings tend to have large starting currents.
Customers sometimes want to replace a motor with a low-current-consumption motor to save energy. The significant energy savings and cost-benefit performance presumably explain the large number of requests for such replacements.
Motors that deliver pronounced energy-saving benefits tend to have higher starting currents than older motors. If the circuit breaker to which a motor is connected doesn’t have enough capacitance, the motor will trip the circuit breaker when it starts operating.
Since other machinery may be stopped when such a motor is installed, the circuit breaker may have enough spare capacity at that time. However, the load will increase once the plant is operating, causing the circuit breaker to trip.
Recording the starting current before and after the replacement and noting the values in a report
By recording the starting current of the previous motor and the replacement motor, you can create a more compelling report.
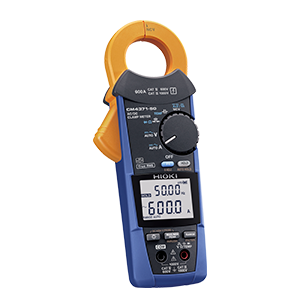
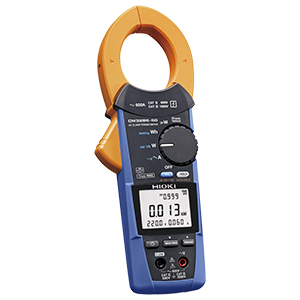
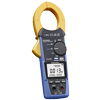
This article introduces a measurement example using the CM4375-50. The specific method depends on the instrument, so please refer to your instrument’s user manual for details.
Measuring starting current with the CM4375-50
Two sets of starting current waveform data will be saved in the CM4375-50's internal memory. This will cause the previous waveform data to be overwritten and erased.
Send the necessary waveform data to GENNECT Cross.
One effective approach is to record fluctuations in the load current in advance.
When you use the GENNECT Cross logging function, you can record fluctuations in the load current while the facility is operating, yielding maximum and minimum values.
By observing the trend in the load current, you can determine whether the circuit breaker has sufficient capacity. As a result, you can consider whether the circuit breaker needs to be replaced before you install the replacement motor, and the installation work can be performed more precisely.

GENNECT Cross functions used
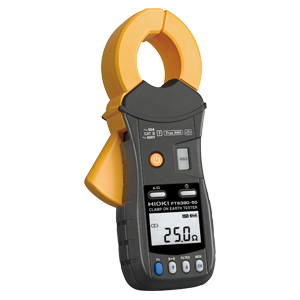
Supported instruments